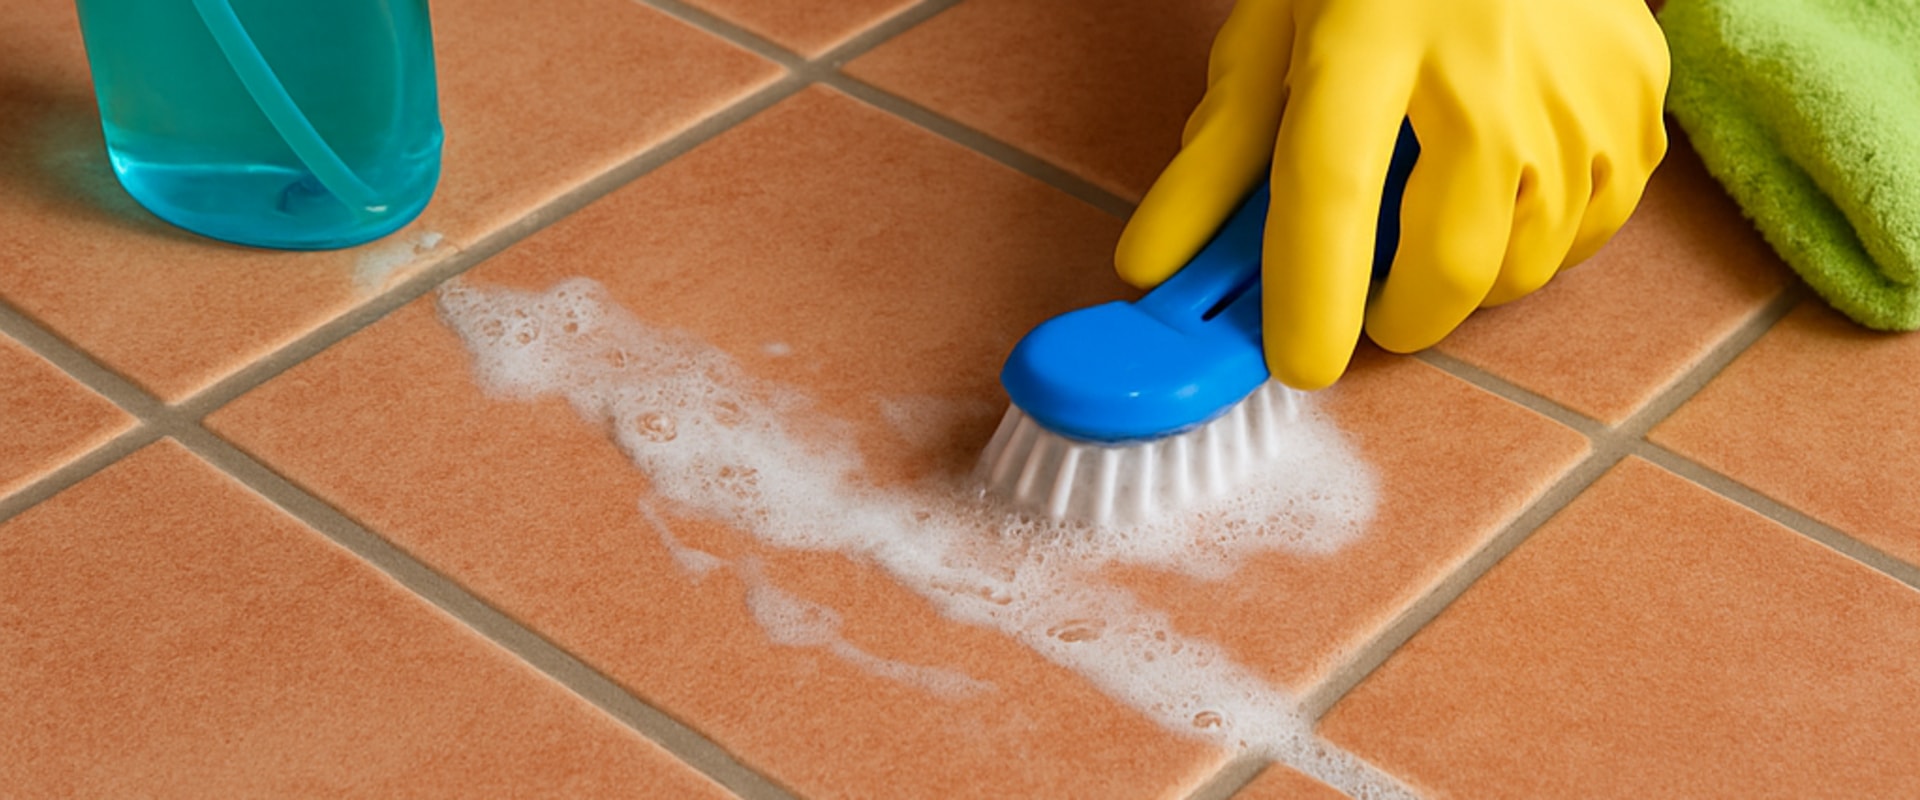
Grout is a crucial component in the world of residential floor care, serving as the binding agent between tiles. Typically composed of a mixture of cement, water, and sometimes sand, grout fills the gaps between tiles, providing structural integrity and a finished look to tiled surfaces. While it may seem like a minor detail, the role of grout extends far beyond aesthetics; it is essential for preventing moisture from seeping beneath tiles, which can lead to mold growth and damage over time. The importance of grout in maintaining both the beauty and hygiene of your home cannot be overstated. Grout lines can easily become discolored or stained due to dirt, spills, and general wear and tear.
This not only detracts from the overall appearance of your floors but can also harbor bacteria and allergens, making regular cleaning vital. Understanding how to properly care for grout is an integral part of maintaining your residential flooring. In this article, we will explore effective methods for cleaning grout, ensuring that your tiled surfaces remain not only visually appealing but also hygienic. By prioritizing grout maintenance, homeowners can enhance the longevity of their flooring while creating a healthier living environment.
Common Causes of Grout Discoloration and Stains
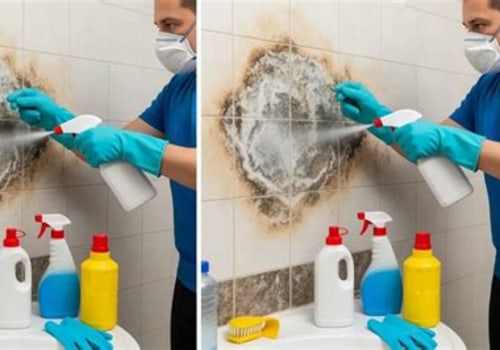
Grout discoloration and stains can be a persistent issue for homeowners, often detracting from the overall appearance of tiled surfaces. Understanding the common causes of these problems is essential for effective residential floor care.One of the primary culprits behind grout stains is moisture.Bathrooms and kitchens, where water is frequently used, create an environment conducive to mold and mildew growth. These fungi thrive in damp conditions, leading to dark stains that can be difficult to remove. Another significant factor is dirt accumulation. Over time, dirt, dust, and debris can settle into the porous surface of grout lines. Regular foot traffic can exacerbate this issue, as particles are ground into the grout, making it appear discolored.Poor cleaning habits also contribute to grout issues.
Using harsh chemicals or abrasive tools can damage the grout, making it more susceptible to staining. Additionally, infrequent cleaning allows dirt and grime to build up, resulting in a more challenging cleaning process later on. Here are some common causes of grout discoloration:
- Moisture: Excessive humidity and water exposure.
- Dirt and debris: Accumulation from foot traffic and spills.
- Mold and mildew: Growth in damp areas like bathrooms.
- Poor cleaning practices: Use of inappropriate cleaning products or infrequent maintenance.
Essential Tools and Materials for Cleaning Grout
Cleaning grout effectively requires the right tools and materials to ensure a thorough job without damaging your tiles. Here’s a list of essential items you’ll need for optimal residential floor care.- Grout Brush: A stiff-bristled grout brush is crucial for scrubbing away dirt and stains.
Look for one with a comfortable handle to make the task easier.
- Toothbrush: An old toothbrush can be an excellent tool for reaching tight spaces and corners where grime tends to accumulate.
- Bucket: A sturdy bucket is necessary for mixing cleaning solutions and rinsing your tools during the cleaning process.
- Sponge: Use a sponge to wipe down the tiles after scrubbing the grout. A non-abrasive sponge will help prevent scratching the tile surface.
- Protective Gear: Gloves and goggles are important to protect your skin and eyes from harsh cleaning chemicals.
Best Cleaning Products for Grout
- Baking Soda: This natural abrasive is effective for lifting stains without damaging the grout.
- White Vinegar: A powerful natural cleaner that can help dissolve mineral deposits and grime.
- Hydrogen Peroxide: This is great for whitening grout and removing tough stains. Mix it with baking soda for enhanced cleaning power.
- Commercial Grout Cleaners: If you prefer ready-made solutions, look for products specifically designed for grout cleaning. Ensure they are safe for your tile type.
Avoid using harsh chemicals or abrasive materials that could damage your flooring. With these essentials in hand, you’ll be well-equipped to tackle even the toughest grout stains, ensuring your floors remain clean and inviting.
Step-by-Step Guide to Cleaning Grout Between Tiles
Cleaning grout between tiles can seem like a daunting task, but with the right approach, it can be manageable and effective. Here’s a step-by-step guide to help you achieve clean and fresh-looking grout.- Gather Your Supplies: Before you start, make sure you have the following items:
- Baking soda
- White vinegar
- Water
- A scrub brush or an old toothbrush
- A spray bottle
- Protective gloves
- Create a Cleaning Solution: In a bowl, mix equal parts of baking soda and water to form a paste. For tougher stains, you can also mix equal parts of white vinegar and water in a spray bottle.
- Apply the Cleaning Solution: Apply the baking soda paste directly onto the grout lines.
If using the vinegar solution, spray it generously over the grout. Allow it to sit for about 10-15 minutes to break down dirt and stains.
- Scrub the Grout: Using your scrub brush or toothbrush, scrub the grout lines in a circular motion. This will help lift any embedded dirt and grime. For stubborn stains, you may need to apply more paste or vinegar solution.
- Rinse Thoroughly: After scrubbing, rinse the area with warm water to remove any residue from the cleaning solutions.
Make sure to wipe away any excess moisture with a clean cloth.
- Dry the Area: Use a dry towel to wipe down the tiles and grout lines. This will help prevent new dirt from settling in and keep your tiles looking pristine.
DIY Grout Cleaning Solutions: Natural vs.
Chemical OptionsWhen it comes to cleaning grout, homeowners often find themselves torn between natural and chemical solutions. Each option has its own set of advantages and disadvantages, making it essential to understand what works best for your specific needs.
Natural Grout Cleaning Solutions
Natural cleaners are often favored for their eco-friendliness and safety, especially in homes with children and pets. Here are a few effective DIY recipes:- Baking Soda and Vinegar: Mix equal parts of baking soda and water to form a paste. Apply it to the grout lines, then spray with vinegar.
The fizzing reaction helps lift stains.
- Lemon Juice and Baking Soda: Combine lemon juice with baking soda to create a powerful stain remover. The acidity of lemon juice helps break down grime.
- Hydrogen Peroxide: Use hydrogen peroxide directly on the grout for tough stains. Let it sit for 10-15 minutes before scrubbing.
Chemical Grout Cleaners
Chemical cleaners can be more effective for severe stains or mildew but should be used with caution. Here are some common options:- Commercial Grout Cleaners: These products are specifically formulated to tackle tough stains and often contain bleach or other strong agents.
Always follow the manufacturer's instructions for safe use.
- Oxygen Bleach: A safer alternative to chlorine bleach, oxygen bleach can effectively whiten grout without the harsh fumes.
Preventive Measures to Keep Grout Clean Longer
Maintaining clean grout is essential for the overall appearance of your tiles and can significantly enhance the longevity of your flooring. Here are some effective preventive measures to keep grout looking fresh and clean:- Seal Your Grout: One of the most effective ways to prevent stains and dirt buildup is to apply a high-quality grout sealer.
This creates a protective barrier that repels moisture and grime. It’s advisable to reseal your grout every 6 to 12 months, depending on foot traffic and cleaning frequency.
- Regular Cleaning: Incorporate a routine cleaning schedule into your residential floor care practices. Use a mild detergent mixed with warm water to wipe down your tiles and grout lines at least once a week. This helps prevent dirt from settling in.
- Avoid Harsh Chemicals: While it may be tempting to use strong cleaners, they can damage the grout over time.
Stick to pH-neutral cleaners that are safe for both tiles and grout.
- Use Mats and Rugs: Place mats at entryways and rugs in high-traffic areas to minimize dirt and debris being tracked onto your floors. This simple step can significantly reduce the amount of cleaning needed.
- Address Spills Immediately: If you spill something on your tiles, clean it up right away. Allowing spills to sit can lead to staining, especially on unsealed grout.
Frequently Asked Questions About Grout Cleaning
Cleaning grout can be a daunting task for many homeowners.Here are some frequently asked questions that can help you navigate the process of maintaining your grout effectively.
- What is the best method for cleaning grout?
The most effective method often involves a combination of baking soda and vinegar. Create a paste with baking soda and water, apply it to the grout lines, then spray with vinegar. Let it sit for a few minutes before scrubbing with a brush. - How often should I clean my grout?
For optimal residential floor care, it’s recommended to clean your grout every 1-3 months, depending on foot traffic and exposure to moisture. - Can I use bleach on my grout?
While bleach can be effective in removing stains, it may also damage colored grout or cause discoloration. Always test in a small area first and consider using oxygen bleach as a safer alternative. - What tools do I need for cleaning grout?
Essential tools include a stiff-bristled brush, a spray bottle, and possibly a steam cleaner for tough stains.A toothbrush can also work well for smaller areas.
- Is it necessary to seal grout?
Yes, sealing your grout after cleaning can help protect it from stains and moisture, making future cleaning easier. It’s advisable to reseal every 6-12 months.
Conclusion: Maintaining Beautiful Grout for a Healthy Home
In conclusion, maintaining beautiful grout is essential for a healthy home and contributes significantly to the overall aesthetic of your residential floor care. Regular cleaning and proper maintenance not only enhance the appearance of your tiles but also prevent the buildup of dirt, mold, and mildew that can compromise indoor air quality.To recap, here are the key points to remember:- Regular Cleaning: Establish a routine cleaning schedule to keep grout looking fresh.
This can include weekly sweeping and mopping with appropriate cleaners.
- Deep Cleaning: Utilize deep cleaning methods, such as steam cleaning or using a mixture of baking soda and vinegar, to tackle stubborn stains and discoloration.
- Sealing Grout: Apply a high-quality grout sealer after cleaning to protect against future stains and moisture infiltration. This step is crucial in prolonging the life of your grout.
- Prompt Attention: Address spills and stains immediately to prevent them from setting in. Quick action can save you time and effort in the long run.